Yoga is a very popular sport and with good reason. It has many benefits for the body and can, in addition, relieve certain ailments. If you are still hesitant to practice this activity, here is a small practical guide so you can learn all the benefits of yoga, some Asanas poses and a homemade recipe to clean your mat.
1. The Benefits of Yoga
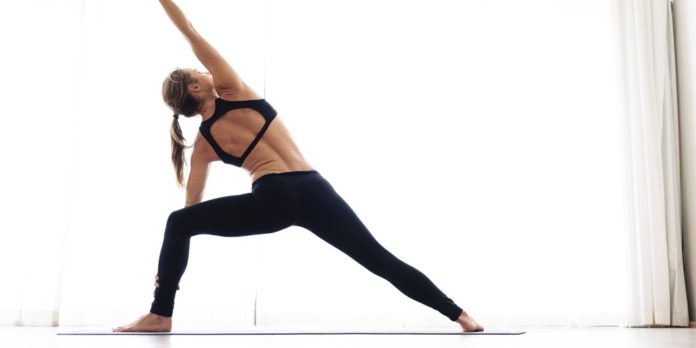
Practicing yoga has many benefits. Here are a few to remember:
- It reduces your stress and anxiety, helping you live more serenely.
- It increases your self-esteem.
- It allows you to be more present with yourself, but also with the world around you.
- It improves your ability to concentrate.
- It improves your flexibility and strengthens your body.
2. Half-moon pose
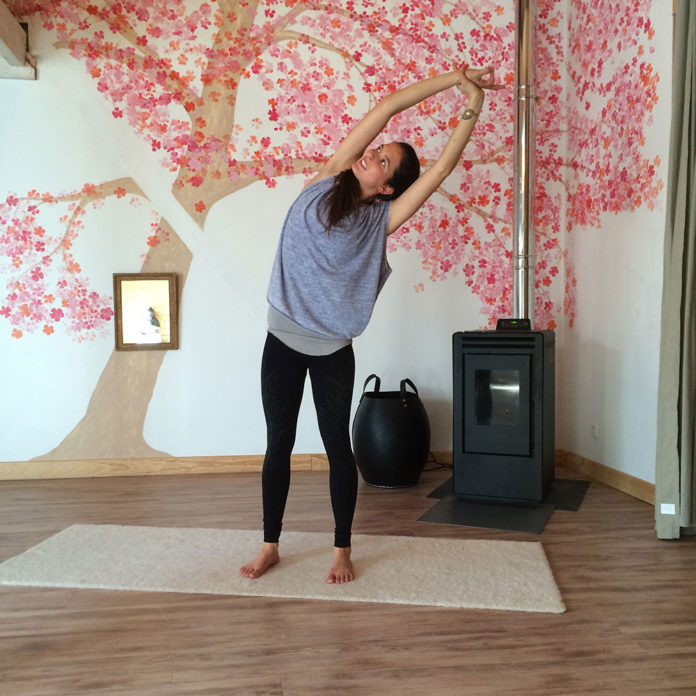
Asanas poses are not only practical to improve your flexibility, but also to embellish the appearance of the body. The posture of the half moon, for example, strengthens the abdominals, back and legs. It also makes it possible to lengthen and refine your waist.
- Open your legs to hip width.
- Stretch your arms over your head and grasp your left wrist with your right thumb and index finger.
- Inhale, exhale and lean to the opposite side.
- Take 3 breaths per side and do the exercise on the other side.
3. Downward-facing dog
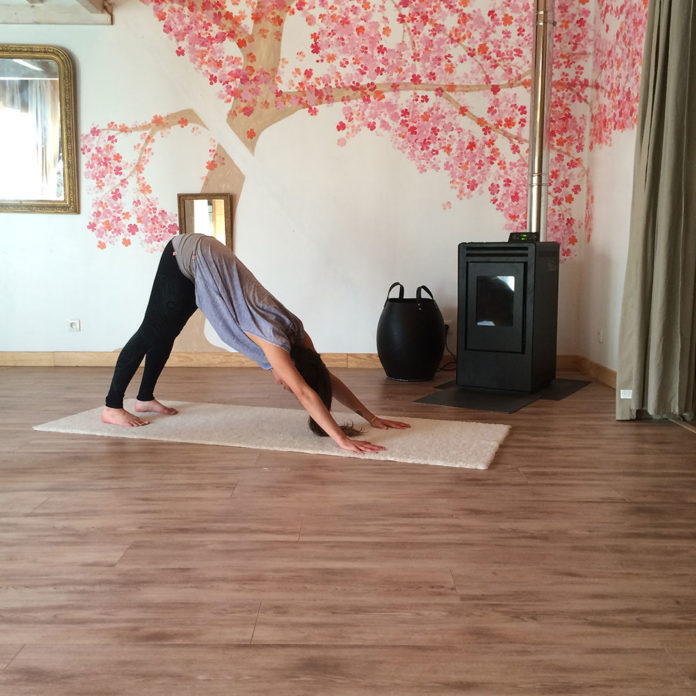
Downward-facing dog lengthens your leg muscles while reinforcing the shoulders.
- Stand on all fours, making sure your feet are hip-width apart and your hands are at shoulder width.
- Move your thighs forward near your stomach by pushing your buttocks up.
- Try to keep your back straight.
- Stretch your legs and take 5 to 6 deep breaths.
4. Warrior I
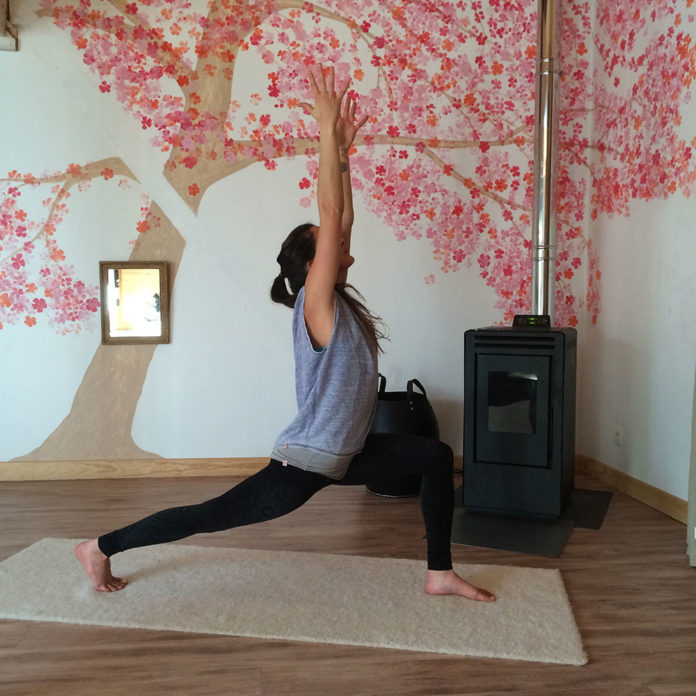
The warrior’s poses will help you strengthen the muscles in your legs, buttocks and abdominals.
- From downward-facing dog, bring your left foot between your two hands.
- Keep your right leg stretched back.
- Keep your back straight up.
- Straighten your chest by pointing your fingers towards the ceiling.
- Hold this position and take 5 to 6 breaths.
5. Warrior II
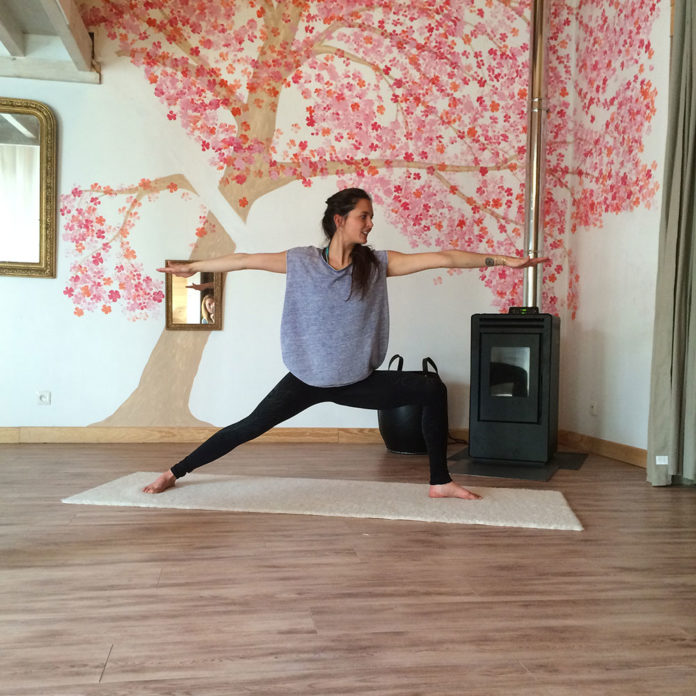
Here’s how to do the Warrior II posture:
- From warrior I, put your right heel on the ground. Your feet should be perpendicular and your heels aligned.
- Be sure to open your right hip and left knee back.
- Open your arms horizontally and wait for the energy to flow inside you.
6. Warrior III
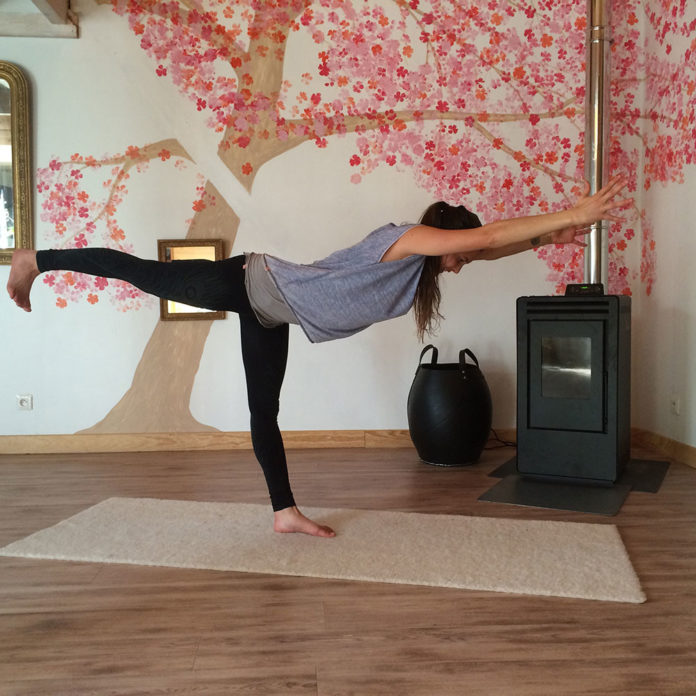
Here is a pose to help you have stronger back muscles:
- Do the warrior I posture, then bend your right leg.
- Find your balance on your left leg.
- Make sure your chest and leg are parallel to the floor and that your arms are extended.
- Take 3 to 4 breaths and change your leg.
7. Try the boat pose
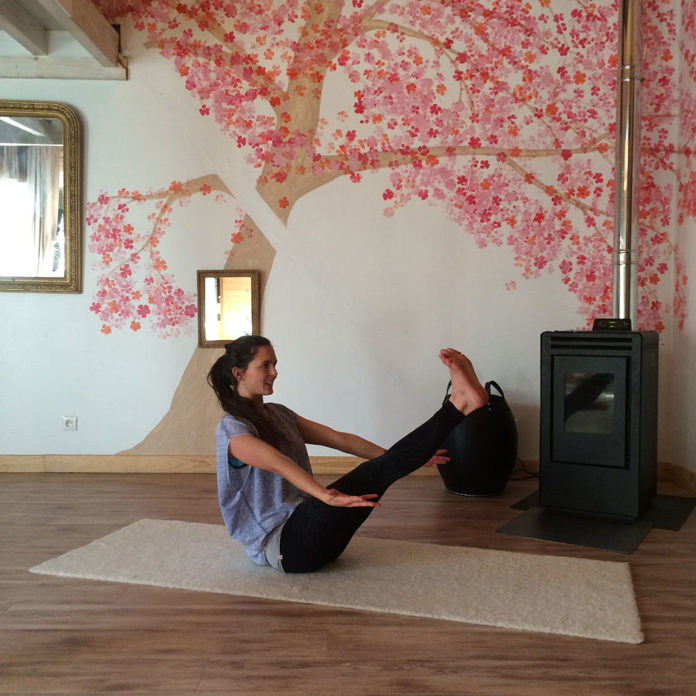
The boat posture is perfect for improving almost every muscle in your body.
- Sit on your buttocks and try to distribute your weight evenly.
- Extend your back and tilt backwards until your feet are off the ground.
8. Why clean your yoga mat?
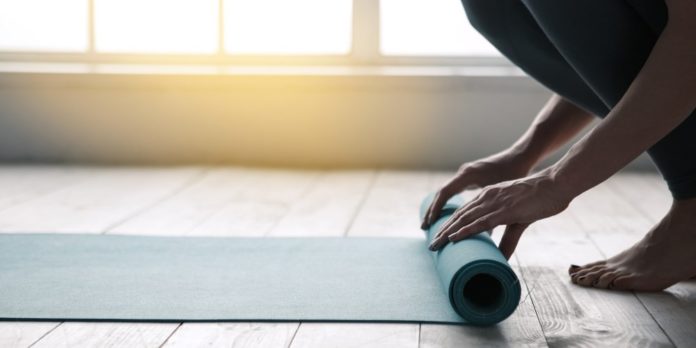
You have to have a yoga mat to practice yoga. The mat allows you to be stable when doing your postures while avoiding getting cold. In fact, the mat creates a barrier between the floor and your feet. Of course, you should take the time to clean your yoga mat from time to time, as dust, sweat and dirt can accumulate quite quickly. By cleaning your mat, you will prevent bacteria from spreading and increase its lifespan. Here’s how to make a DIY mat cleaner.
9. The necessary ingredients to clean your yoga mat
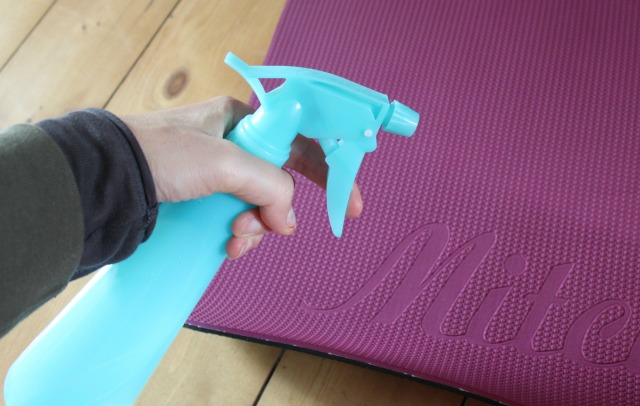
- White vinegar.
- Demineralized water (if possible).
- Tea tree essential oil.
- Lavender essential oil.
10. How to clean your yoga mat
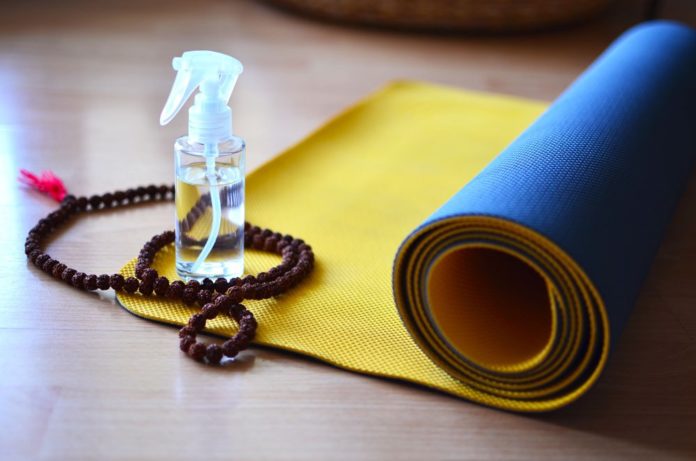
- Fill ¾ of a spray bottle with demineralized water.
- Add ¼ white vinegar.
- Pour 5 drops of tea tree essential oil.
- Pour 7 of lavender essential oil.
- Shake to mix everything together and spray it on your mat. To preserve the cleaner longer, store it away from too much direct light.
Sources:
- Marie Claire
- yogapassion.fr


![[Photos] Why WD-40 Is Magic In Your Garden?](https://lifetonik.com/wp-content/uploads/sites/7/2019/08/WD40-Prices-Highres_Page_8_Image_0008-218x150.jpg)


![[Photos] Take A Look Of The Obama’s New Home Before It’s Banned](https://lifetonik.com/wp-content/uploads/sites/7/2019/07/Obama1-218x150.jpg)

![[Slideshow] Celebrity Homes: 21 Of The Most Luxurious](https://lifetonik.com/wp-content/uploads/sites/7/2019/07/Taylor-Swift-218x150.jpg)
![[Slideshow] More Parents Are Now Gluing Pennies to the Bottom of their Kid’s Shoes](https://lifetonik.com/wp-content/uploads/sites/7/2019/07/Keep-Them-Entertained-218x150.jpeg)
![[Photos] 20 Fashion Mistakes That Too Many Women Make!](https://lifetonik.com/wp-content/uploads/sites/7/2019/07/5-style-mistakes-that-make-you-look-frumpy-featured-218x150.jpg)




![[Gallery] 25 Discounts For Seniors To Which You Are Entitled Without Knowing It](https://lifetonik.com/wp-content/uploads/sites/7/2019/08/EAZxECUXUAAvNZR-218x150.jpg)
![[Slideshow] Here’s the salary of every governor in the United States](https://lifetonik.com/wp-content/uploads/sites/7/2019/08/Charlie-Baker-218x150.jpg)
![[Photos] No One Will Want To Buy This House After Seeing These Pictures](https://lifetonik.com/wp-content/uploads/sites/7/2019/08/terrible-real-estate-photos-2-5c35e727c9f95__700-218x150.jpg)

