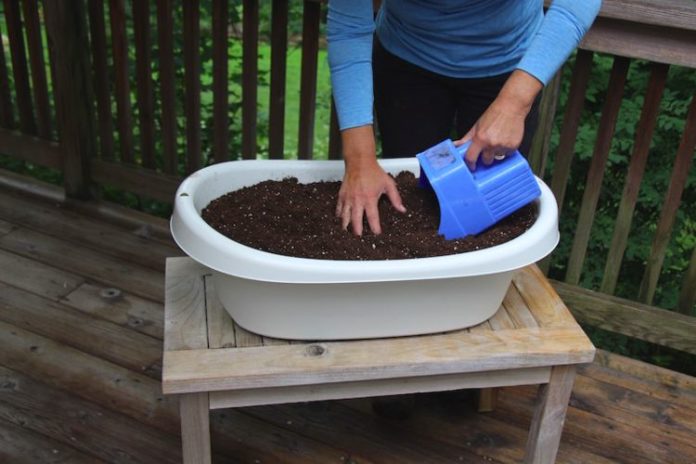
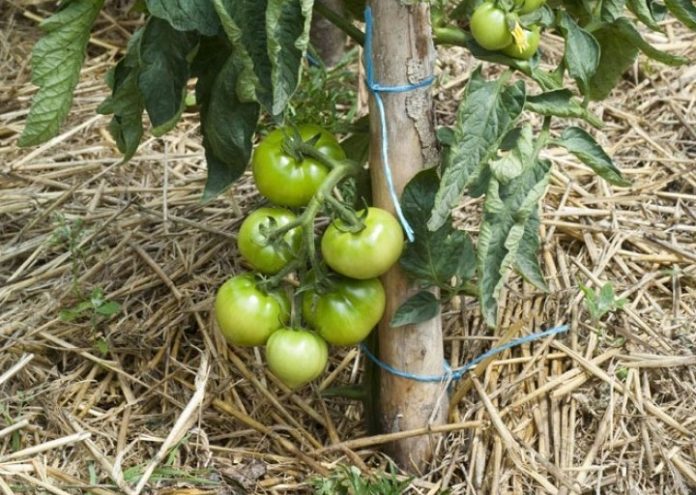
Most people love fruits and vegetables because they are delicious and have a ton of health benefits. However, it has to be said that these foods are not always the most affordable foods at the grocery store. Fortunately, you can grow them in your garden to save money. Here are some fruits and vegetables that you can easily grow at home to save money, including tips to achieve growing them without hassle.
1. Lettuce
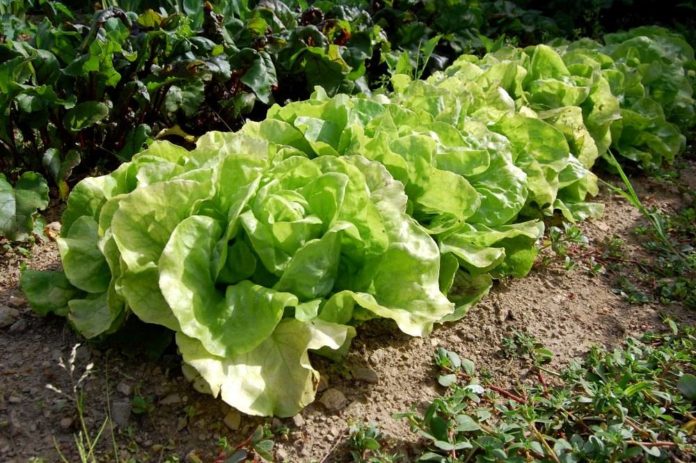
Lettuce is one of the easiest vegetables to grow in boxes; your efforts will rapidly bear fruit, you will see. With these tips, you will be able to take advantage of your harvest after only six to eight weeks.
2. Select the right pot to plant your lettuce
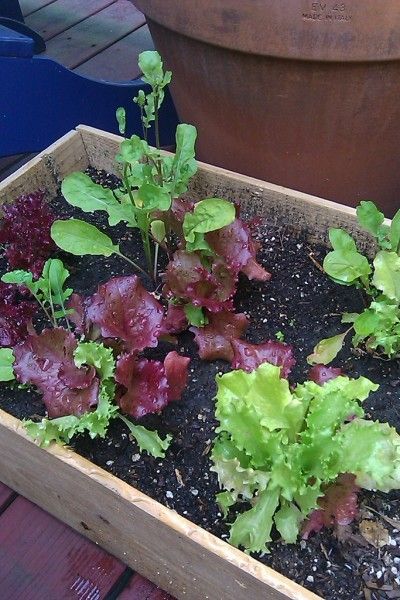
Lettuce has a pretty short root system and the plants don’t grow a lot (6-12 inches maximum), so your plant containers don’t have to be really deep. The best containers are shallow but very large.
3. Drainage
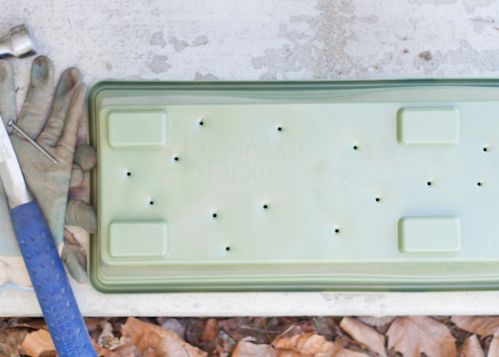
After choosing the right containers, make sure there are a lot of drainage holes at the bottom to help evacuate the excess water. If you have plastic containers, use an electric drill or a hammer and a nail to make holes at the bottom.
5. Planting your lettuce
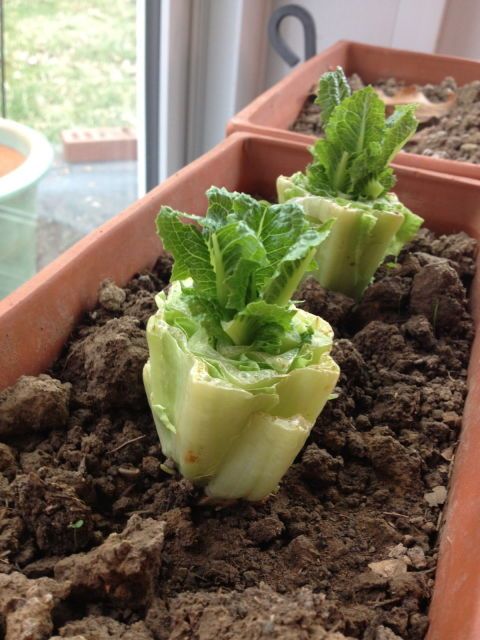
Lettuce can easily be grown by sowing directly or by planting seedlings. It is also possible to plant romaine lettuce by using old romaine cores after removing all the leaves from the stem.
6. Leave space between the lettuce plants
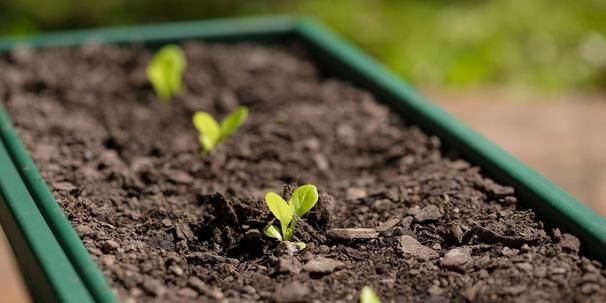
Since you will harvest the lettuce quite often, the space between the lettuces is not as important than with other vegetables. But the lettuces will grow better if they are spaced out by 4-6 inches.
7. Light
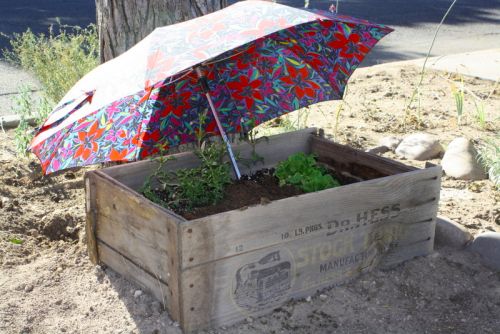
Lettuce likes sunlight but it needs to be protected from the intense heat during the day. To avoid the lettuce drying, create shade for the plants in the afternoon or move the boxes out of direct sunlight towards a more shaded area.
8. Water your lettuce adequately
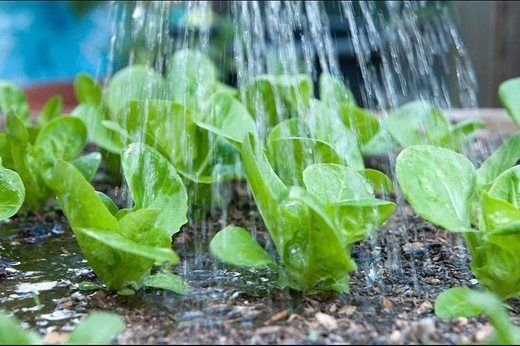
Lettuce needs a lot of humidity to develop. The shallow containers and/or the short radical systems need frequent watering to avoid the lettuce from drying. Make sure to keep the soil lightly humid at all times.
9. Fertilizer
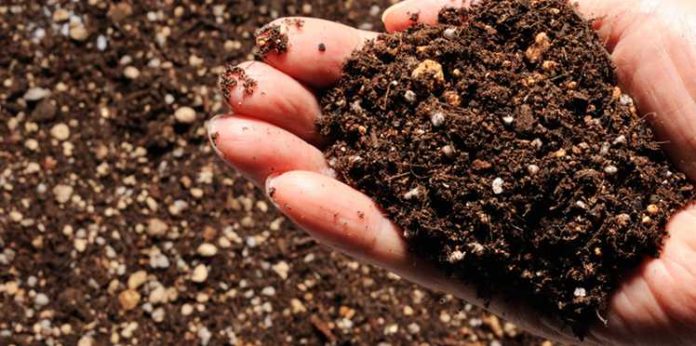
Adding one or two small amounts of fertilizer is usually adequate for lettuce since it has a rapid growth season. Leave the seeds to settle for a couple of weeks after planting the lettuce before adding fertilizer.
10. Locking
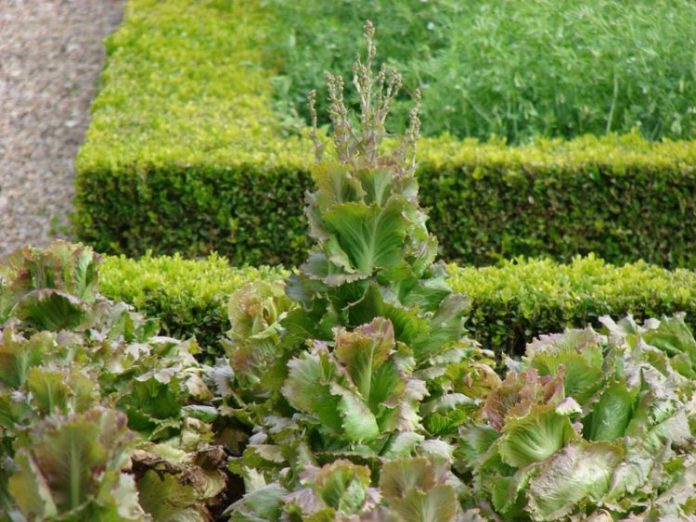
Lettuce plants shoot from the tips and try to go to the seed (i.e. “bolt”) when daytime temperatures are too high. Keep plants in the shade when it is hot during the day, and well watered, to prevent them from bolting since they are irreversible.
11. Beware of ravenous insects
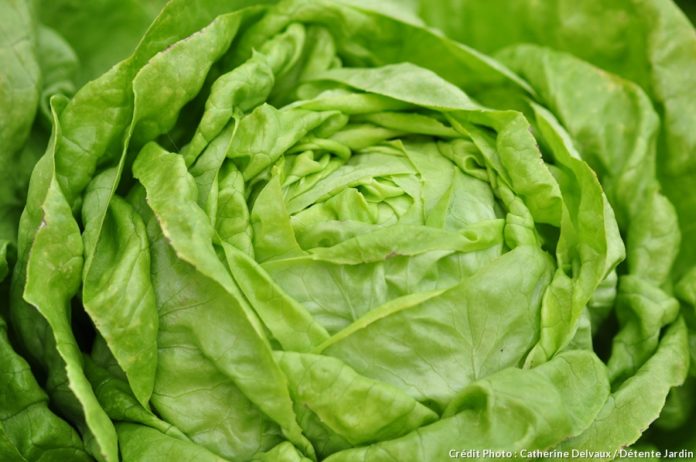
Container gardening usually means there will be fewer insect parasites but watch out for insects that eat leaves like aphids. Spray some horticultural soap immediately if you see any.
12. Here is how to harvest lettuce
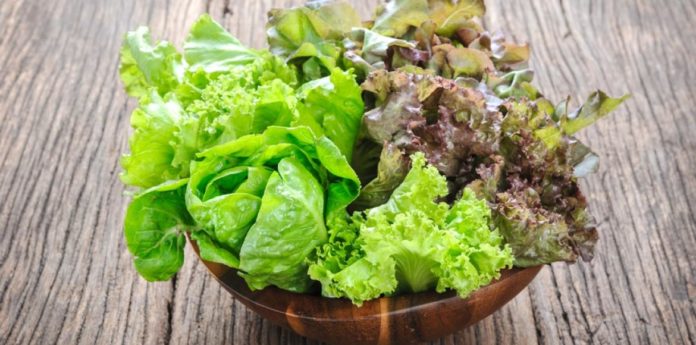
Gently cut the exterior lettuce leaves when the plants are young and tender (around 4-6 inches high). If you wait too long to harvest them, the plants will start to bolt and the leaves will become bitter.
13. Mandarins

If you like citrus fruit, know that you can grow mandarins in your garden on in flower pots. Here is how to do it:
Preparation:
You will need a medium-sized pot with holes at the bottom for drainage. Serrate small stones on the bottom and use organic soil for better drainage. Also, use some sand on the bottom for better ventilation. Then sow the mandarin seeds, cover them well, but do not press them firmly into the ground. Place the flower pot in a sunny place.
What you need to make sure of:
- You will sometimes have to add a fertilizer high in magnesium, zinc and iron.
- When the soil is dry at an inch deep, water the mandarins. Don’t forget to cut the old and broken branches.
- When you harvest the fruit, you should be gentle and careful not to cause any damage.
14. Garlic
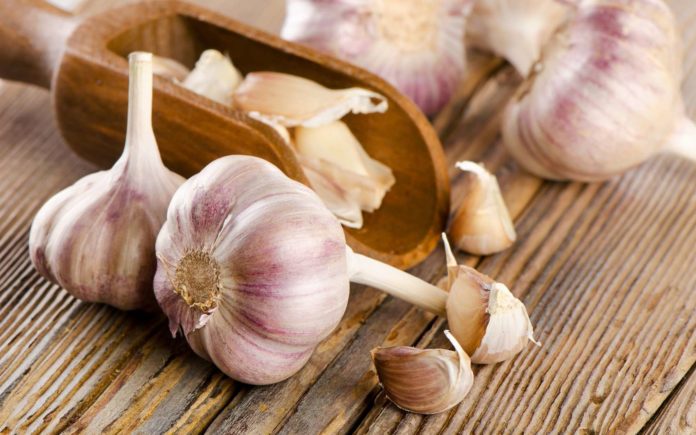
Garlic is a delicious food to integrate into your recipes. You can add some to your spaghetti sauce when you cook certain vegetables or in your favourite meat sauce. If you wish to cultivate some, all you need to do is to plant the right variety of garlic at the right time and in the right kind of soil. Then, you can harvest the garlic when the time comes.
15. Choose different types of garlic
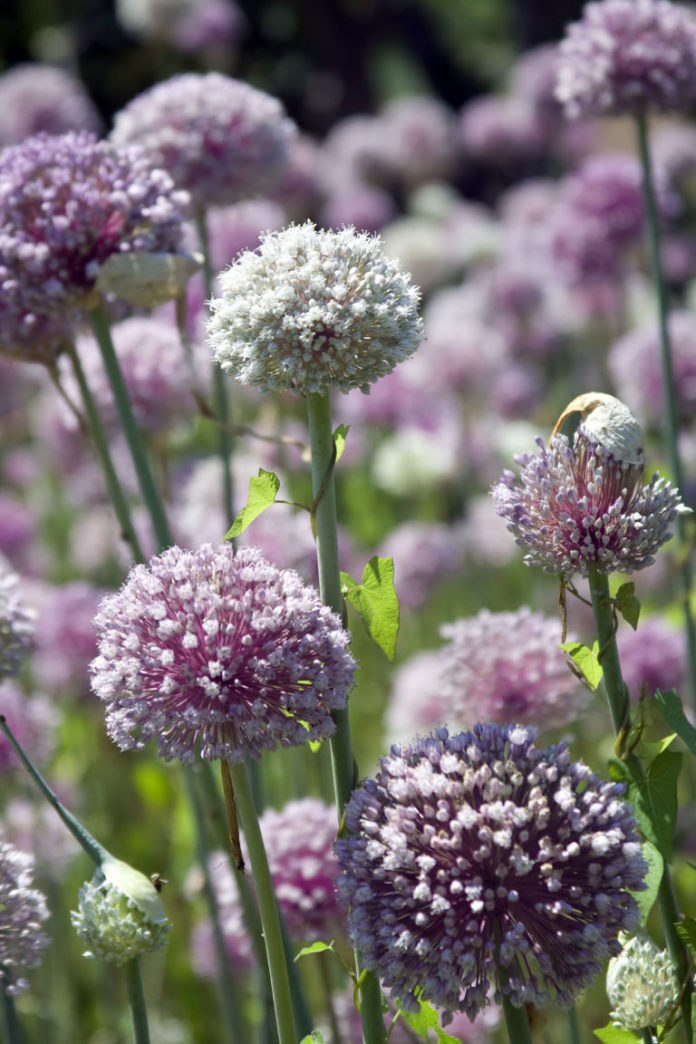
If you look in a specialized catalogue, you will find dozens of garlic varieties, but generally, the most important difference is between the softnecks and hardnecks.
Softnecks get their name because all the green plant disappears, leaving only the bulb and soft stems that are easy to weave. Hardnecks have a stiff stem in the centre that ends in a beautiful flower – or a group of small bulbs – then dries to a rigid stick that makes braiding impossible.
Softnecks, the standard type of garlic in grocery stores, are the easiest to grow in temperate areas. Hardnecks are more adequate in winter because they are more vulnerable to division – or simply refuse to breed – in warm climates.
16. Planting garlic
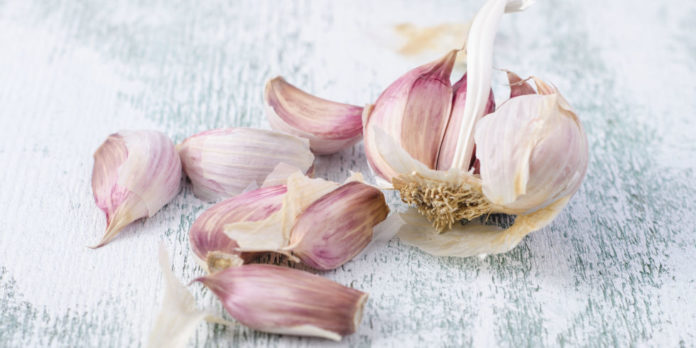
In mid-fall, plant garlic bulbs in loose, fertile soils that are as weed-free as possible. Insert the cloves down about 8 inches apart in all directions, burying the tips about 2 inches down. Green shoots will appear. Put mulch around them with straw.
In the spring, remove the mulch when the new shoots emerge. Give them a mixture of fish emulsion and liquid seaweed. Water them only if the soil is dry at 2 inches deep and never pour water into the crowns of plants.
17. Cut the garlic flowers
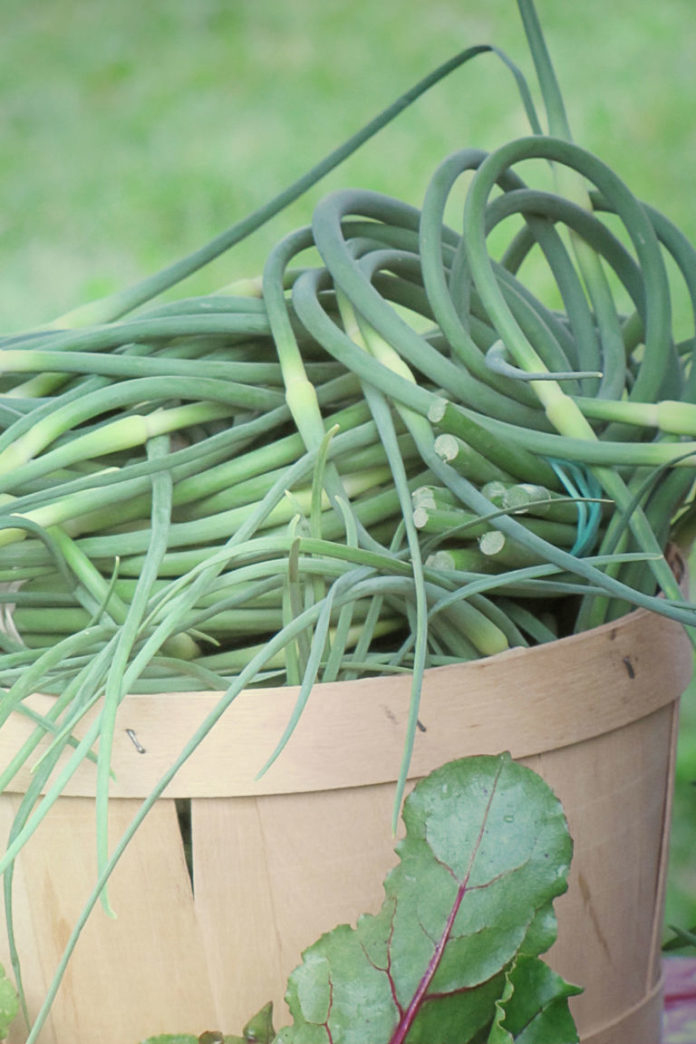
1. There is nothing wrong with taking a few flowers and eating them but don’t wait until they’ve grown too much. Most of the flowers sold are around 4-6 inches long. They should be this long for the best flavour and texture.
2. You can also cut some to place them in a vase but don’t cut them too early.
18. Harvest the garlic
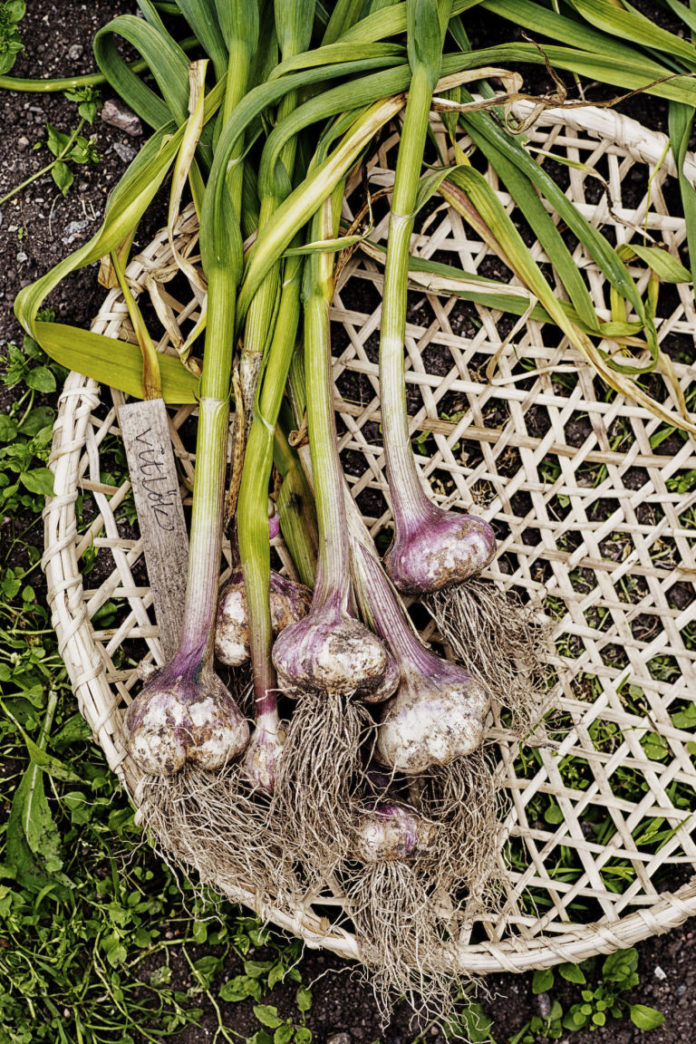
Garlic varieties are divided into early, mid-season and late, depending on your climate zone and the weather during the growing year. The heat accelerates their growth, the cold slows it down.
The bulbs are ready when most of the lower leaves are golden. The highest leaves will still be green.
Choose an overcast day when the ground is dry. Loosen the ground with a fork, insert it far away from the garlic heads, then lift them out of the row and place them in a flat support.
19. Storing the garlic
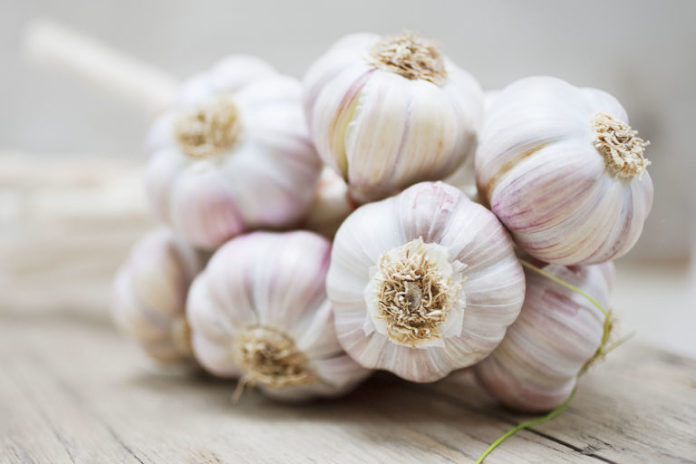
The ideal temperature is between 55 and 70 degrees Fahrenheit with moderate humidity and good air circulation. The garlic needs light but can’t be in direct sunlight. You can leave your garlic in a non-heated cupboard but that is isolated.
20. Tomatoes
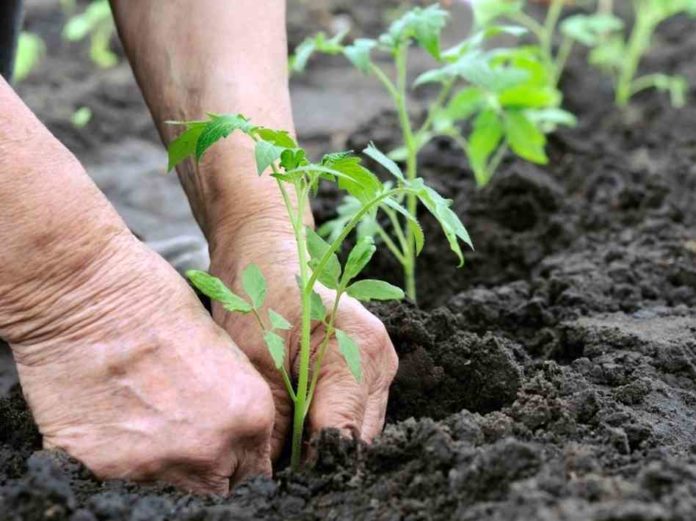
In order to get good tomato plants, plant them very deeply. The more your plants are deep, the more the roots will absorb the necessary water for your tomatoes to survive.
21. Cut the bottom leaves
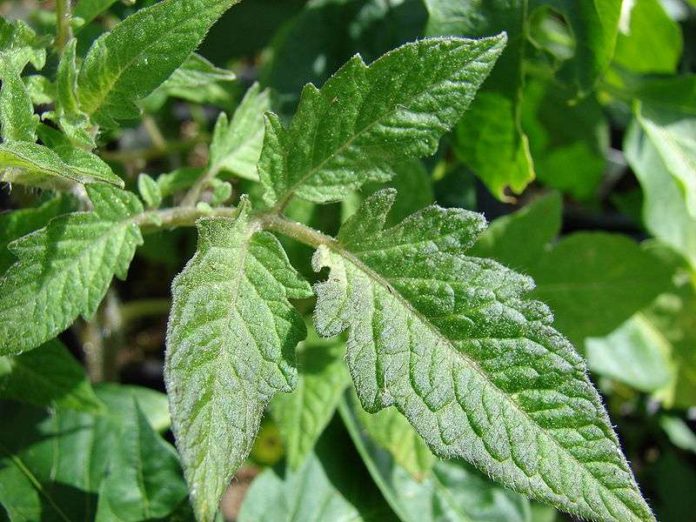
If you cut the bottom leaves, you will be able to prevent certain contaminations in your plants and more sunlight will reach your plants.
23. Opt for copper
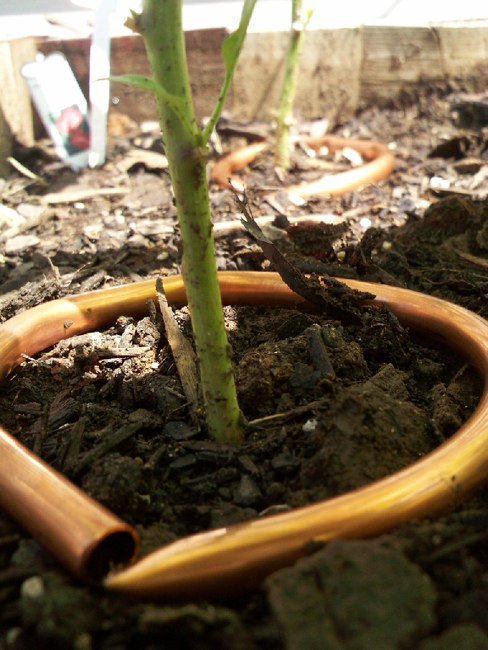
Copper tubes or copper strips will keep the plants clear of snails and slugs.
24. Use a tomato plant crop support
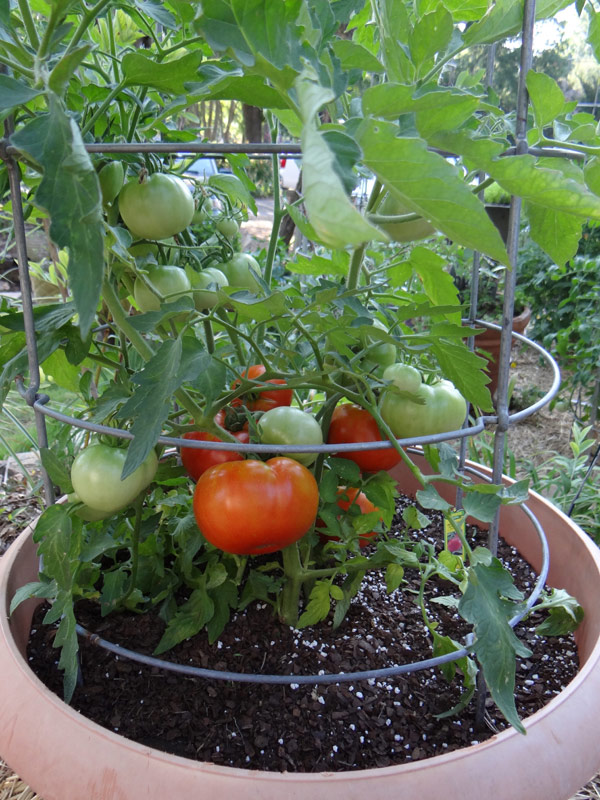
The crop support is a cage that helps your plants grow by supporting them and protecting them from the wind.
25. Create space
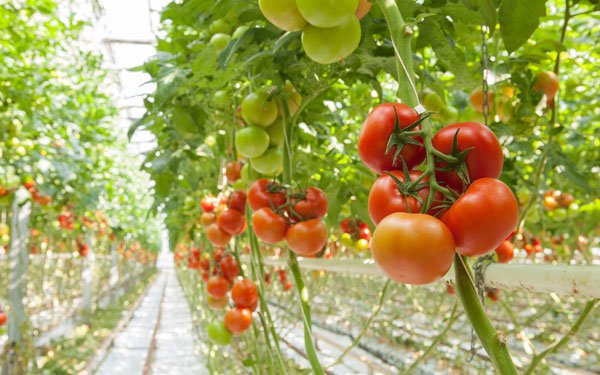
You need between 60 to 90 cm between each plant to encourage growth. Or else, the amount of light is reduced so it weakens the plants.
26. Water your tomatoes
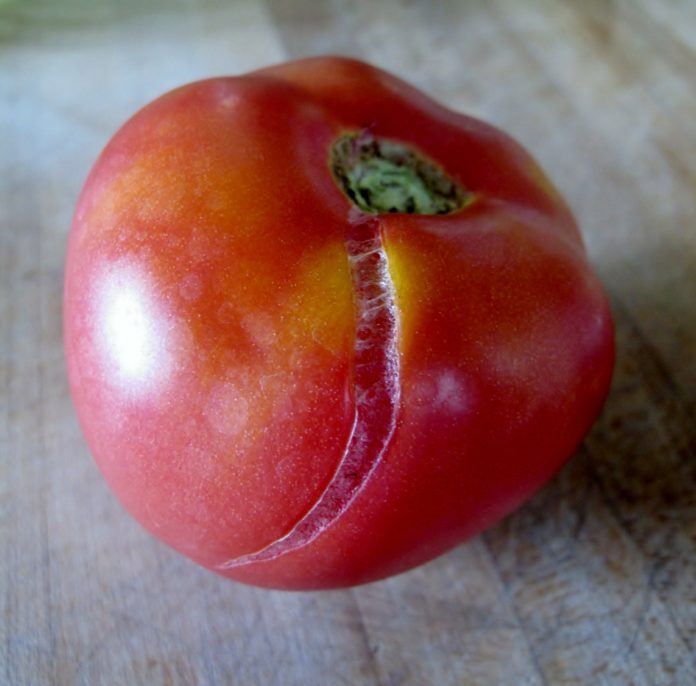
Cracked tomatoes are the effect of not enough water. Make sure they have enough water.
27. Be careful when watering them
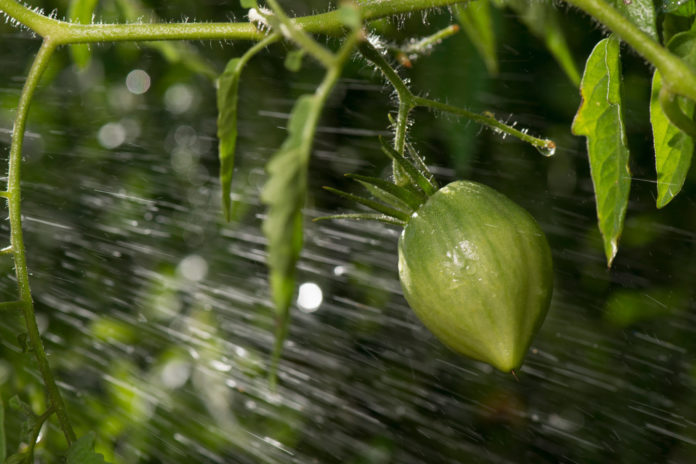
Even if your tomatoes need water to grow, you can’t water them any old way.
You need to water them at the bottom of the plant and do it slowly. Make sure that there is at least 15 cm of the humid earth in the soil.
28. Strawberries
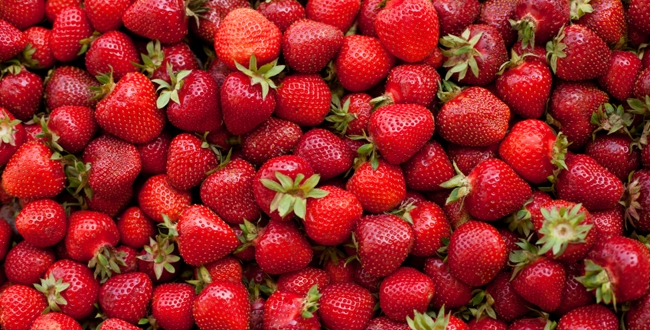
Your plant needs adequate earth to produce juicy strawberries. To do this, your pH has to be between 5,5 and 7.
29. You need the right amount of sun
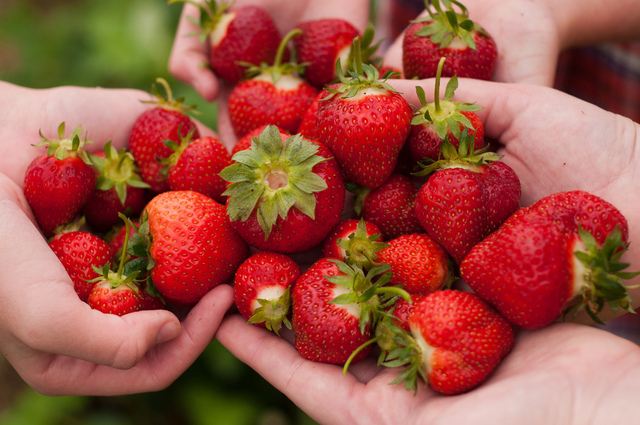

Strawberry plants need 6 to 10 hours of direct sunlight daily. So, before planting your strawberries, it is important to find a space in your garden that has enough sunlight.
30. Make sure your strawberries plants have an adequate drainage
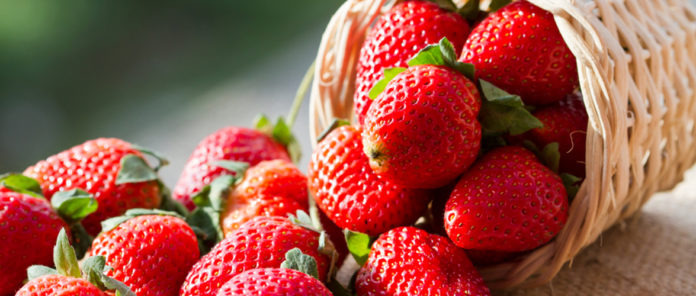
Strawberry plants need to be planted in a zone where the water can easily drain from the soil. If they become too saturated, the plant won’t grow well. A good solution is to use elevated beds.
31. Get rid of weeds
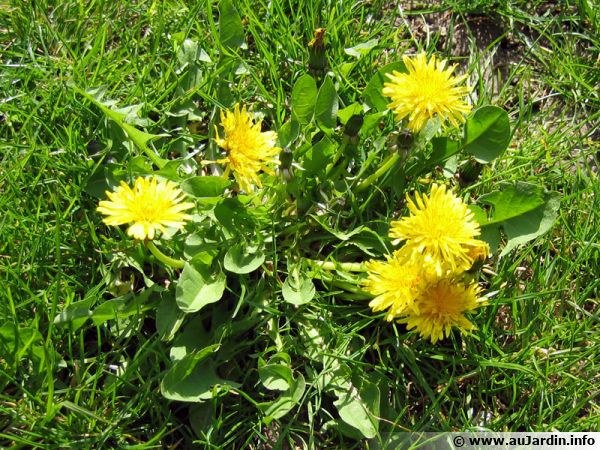
Strawberries are very sensitive to weeds. Don’t let these invasive plants suck all the nutrients out of the soil at the expense of your fruits. Keep a tab on the weeds in your garden.
32. Give enough space to your plants so they can grow
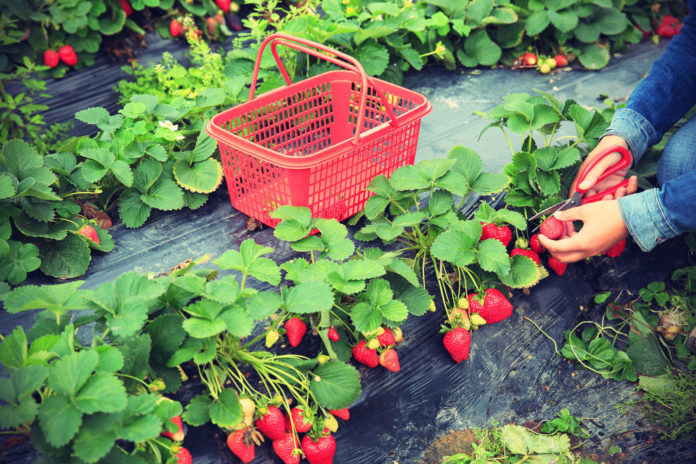
Make sure to plant your plants at least 20 inches away from each other and to leave 4 feet between the rows. This way, you will make sure that the roots have enough place to grow.
33. Don’t plant your strawberries at the same place every year
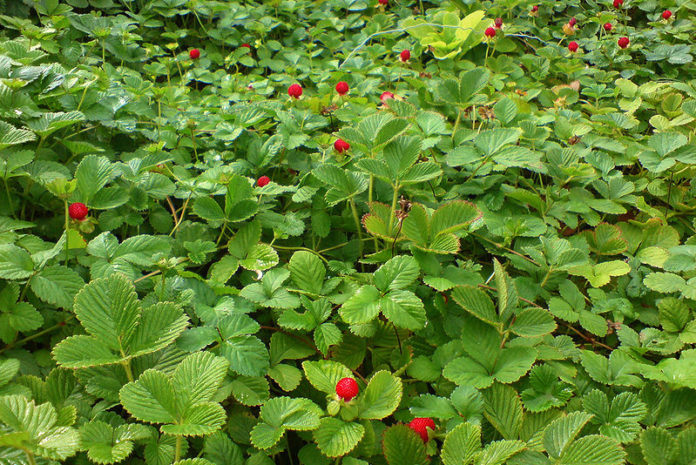
If you wish to get bigger and juicier fruit every year, make sure you rotate where you plant your strawberries. Move your plants around and make sure you don’t plant them at the same place you planted your tomatoes, peppers, eggplants, etc. last year.
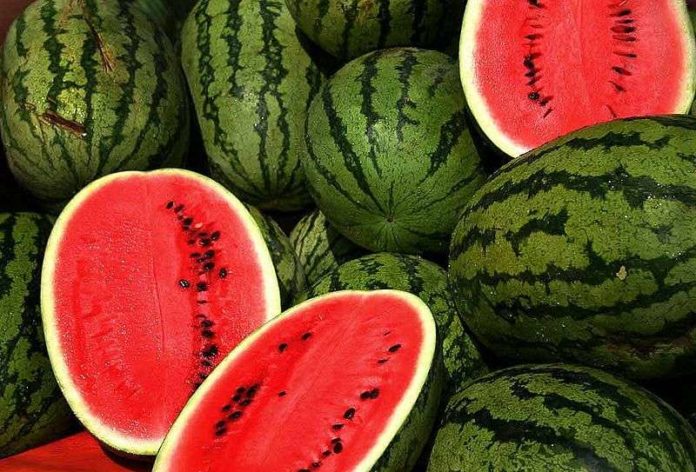
34. Watermelon
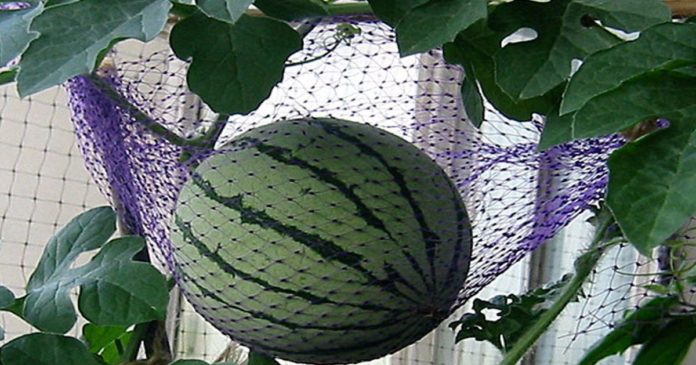
Harvesting your own watermelon is far from being as difficult as we thought, as long as you know a couple of great tips.
35. Size of the container
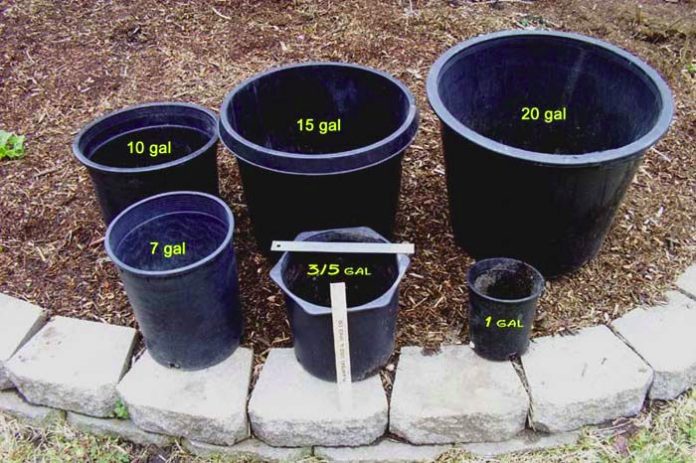
Start with a container of 5 gallons or more. Watermelons have long roots and need a lot of room in the container. Opt for a container that is at least 2 feet deep.
36. Draining holes
No one likes excess water and roots, even watermelons! Make sure the recipient has a lot of holes at the bottom to allow the water to evacuate properly.
38. Vine support
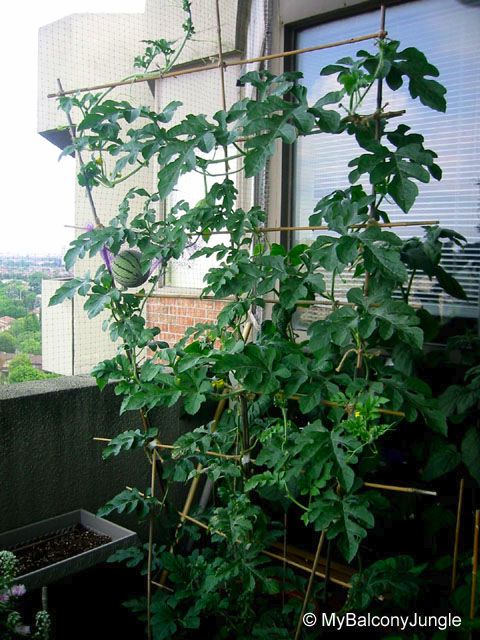
Watermelons need a lot of space to grow. If you give them lattice beams to climb and if you form the plants, you will be able to control them more when they grow.
39. Hand-pollination

Watermelon plants will create female and male flowers on the same vine. Bees and butterflies will naturally pollinate the plants but a little bit of extra help from you, thanks to hand-pollination, will only help to create more fruit.
40. Limit the number of fruits
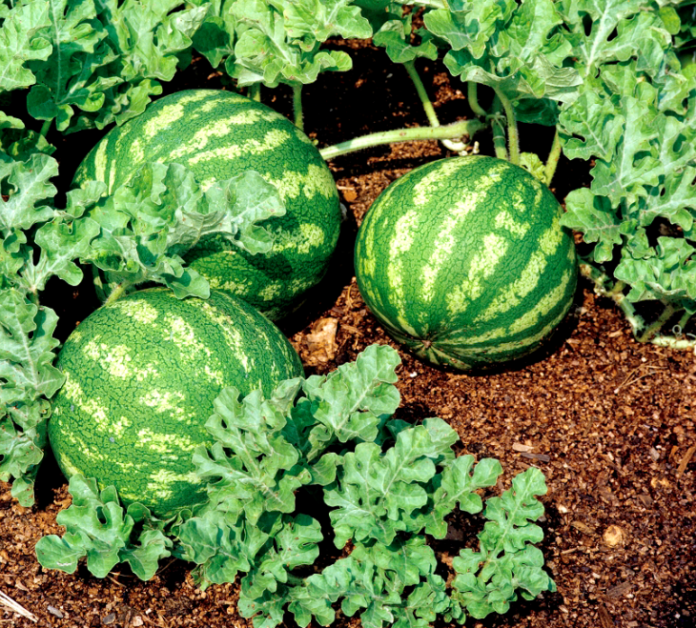
Balcon Garden Web recommends removing any excess fruit from the vine and keep two to three fruits per vine for the bigger varieties and five to ten fruits per vine for the smaller varieties. They will be better quality fruit.
41. Fruit support
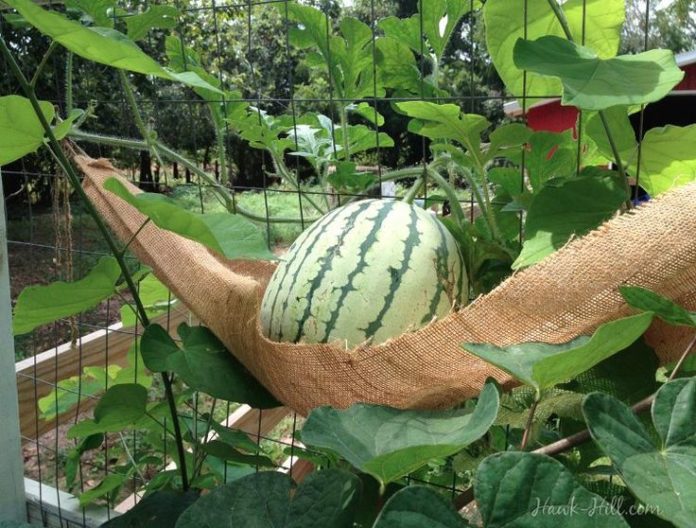
The more the fruits develop and grow, the more support they need. Use stretchy material like stockings or a t-shirt to create a hammock under them.
42. Watering
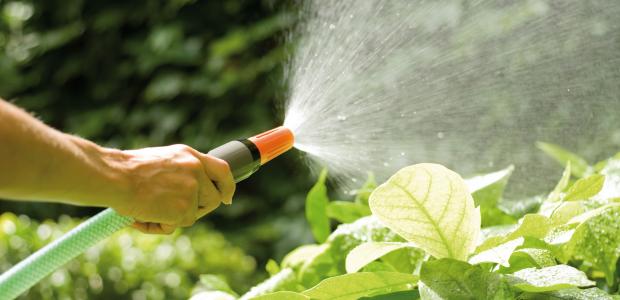
If the temperature is under 80 degrees °F, water your plants once a day. When the temperature gets warmer, water them twice a day to avoid the earth from drying.
43. Fertilizer
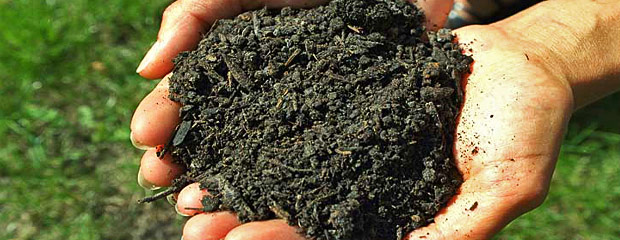
Watermelons will quickly remove all nutrients available in the container. If you use a liquid fertilizer, fertilize them once a week when watering. Fertilize your watermelons once a month if you use granular fertilizer.
44. Pineapple
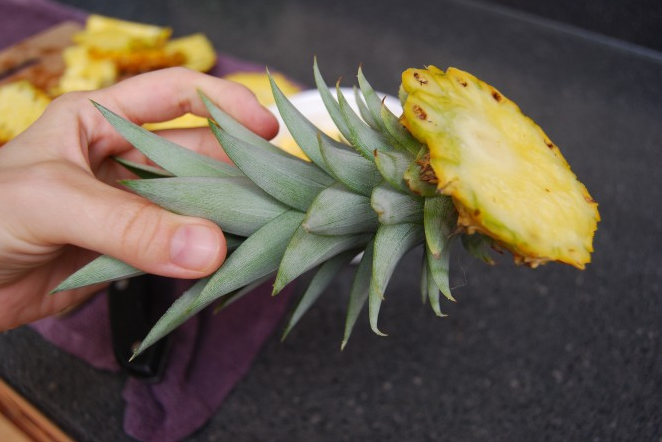
To grow a pineapple in your garden, get a pineapple at the store and cut off its upper part, its crown, including an inch of fruit under the leaves. Remove the dead leaves and remove the remaining fruit from the crown.
45. Plant the crown in a pot filled with earth

If you live in a warm and tropical climate, you can plant your pineapple in the ground, but if not, a pot prepared inside will do the trick. Place the crown in the pot, with the leaves pressed in, and cover its base with soil.
46. That’s it! All you need to do now is wait for the fruit to grow

If you live in a cooler climate, don’t worry, you can still have an excellent pineapple plant as long as there is enough light in your home!
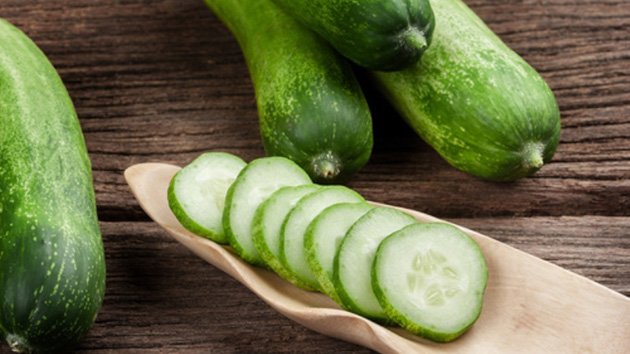
47. Cucumbers
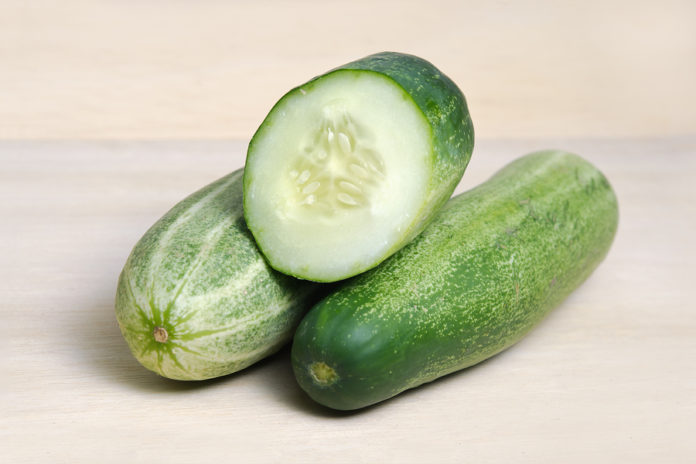
Cucumbers can usually occupy between 12 and 20 square feet if they are planted the old-fashioned way. By increasing the vertical, you can save a lot of space, and you could do this by using raised beds, containers or small plots of land.
To grow them vertically, first, find a suitable container and some mesh. To do this, you will need a large container about 12 inches deep and wide. Since cucumbers can be of a different nature, they are treated differently as well. For example, if you grow a “vine” type, it will grow a lot, and if you grow a bushy variety, it will stay smaller.
48. Find an appropriate mesh size/provide support
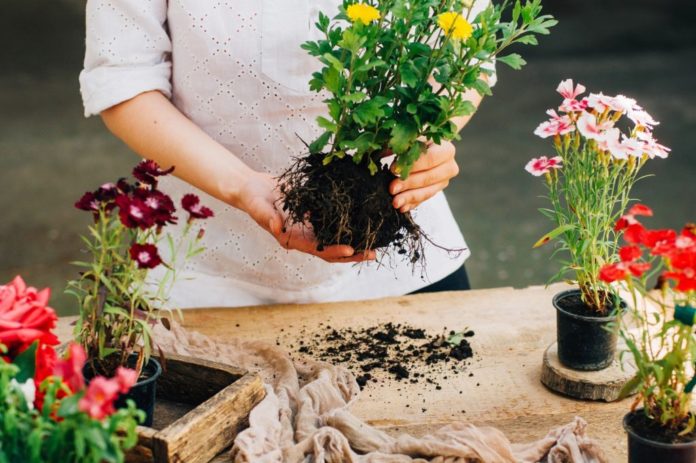
For cucumbers to grow, they need height support, which you can get by installing a wire mesh, garden net, or lattice fence. If you decide to opt for lattice, make sure you find some that go as high as 6 feet maximum. Keep in mind to choose a rigid mesh so that it does not bend.
When placing it, keep the bottom edge 6 inches above ground level. By doing this, you reduce the weeding and growing process. Also, place the trellis in the farthest part of the yard, so that the vines do not cast shade on the remaining plants.
49. Prepare the planting zone
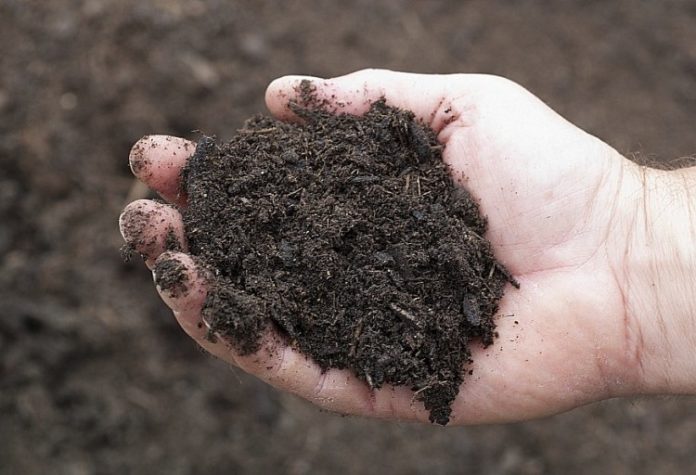
It is really important to keep the soil ready for planting. First, you have to dig an 8-inch hole. Then mix in a 1-inch layer of compost while plowing the soil.
You can do this by using a garden rake and bring the soil back along the trellis line. This step is relevant because it lifts the planting bed 2-3 inches above the ground.
50. Plantation and spreading
Here, the first thing you do is sow the seeds. You must sow them either in the pot or directly at the marked spot. Cover the seeds using 2cm of soil.
Then, you have to let the seeds germinate. When this process is done and you notice the growing leaf seedlings, you will need to transfer them. Start with the healthiest seedlings and transfer them to a larger pot or frost-free soil. The best time to do this is in spring or summer, so you have the most favourable temperature (the ideal temperature would be 70 F (20 C)).
But, if you live in a warmer area, you don’t have to wait for those seasons because you have an ideal climate all year round. If you want, you can plant them in manure that you mix with soil.
51. Some factors make it possible to grow cucumber vertically
- Position
Cucumbers should be exposed to the sun as often as possible. Also, they don’t like the wind, so make sure you keep them safe. If you live somewhere with a climate of 50 F (10 C) or less, cucumbers do not grow. The ideal temperature to do this correctly is 60 to 95 F (15 – 35 C).
- Soil
Make sure the soil in which you plant cucumbers is dry, deep and loose. The soil must also be organic and requires pH neutrality.
- Water
It is crucial that water is available at all times when cucumbers are growing vertically. Cucumbers must be deep in water at all times so that the soil is moist. In addition, you will need to irrigate one inch of rain every three to four days.
If you live in a drier area, do it more often. Just as the vines begin to ripen, you should increase the depth of your plantation to 3-4 inches. Also, do not forget to keep the foliage away from the water, to avoid the emergence of fungi.
- Fertilizer
When growing cucumbers vertically, you should use fertilizers placed slowly in the soil. The vines must be fertilized every two or three weeks.
The flowering of the first plant is an indicator that you should treat them with aged manure. Alternatively, you can use diluted liquid organic fertilizer at the root. Do it when you water the plants.
Plants should not be over-fed, as this will ruin foliage and cause less fruit and flowers to grow.
- Extra trick:
Cucumbers are better preserved picked, so you encourage the vines to grow, flower and produce more fruit. Don’t forget that pests that must be kept away from cucumbers at all times.
52. Onions
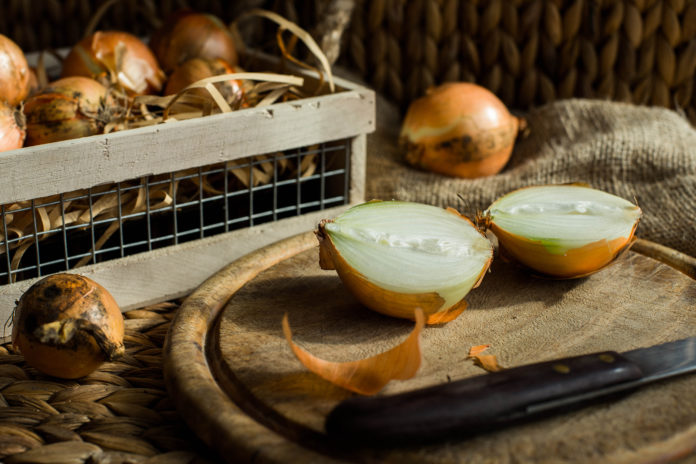
What’s the best thing about onions? It’s the convenience of growing them on the edge of your windowsill. Of course, they are easy to find at the market, but there is nothing better than having them at hand at all times and knowing where they come from. Here’s how to grow them at home:
Things you will need:
- Onions
- Organic earth
- Water
- 5-litre plastic bottle
- Scissors
- Tape
Method:
- Cut the neck of the bottle.
- Use the scissors to make holes in the bottle. Make sure they are big enough.
- The onion sprouts need to be placed through the holes.
- Put some earth in the bottle.
- Place the bottle on the edge of your windowsill.
- Set the neck of the bottle with some tape.
53. Blueberries
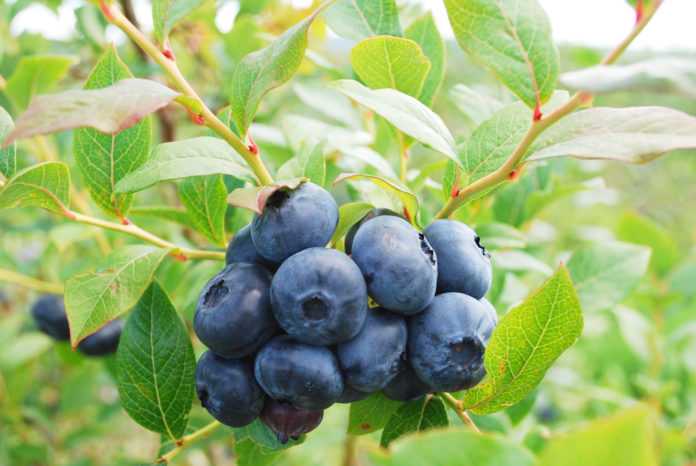
To grow blueberries, you need to be careful where you decide to grow them because they need high-quality soil and lots of sunshine. Sunlight will provide the necessary conditions for photosynthesis which is vital for their growth and the soil will support this process.
54. Make sure you have enough space
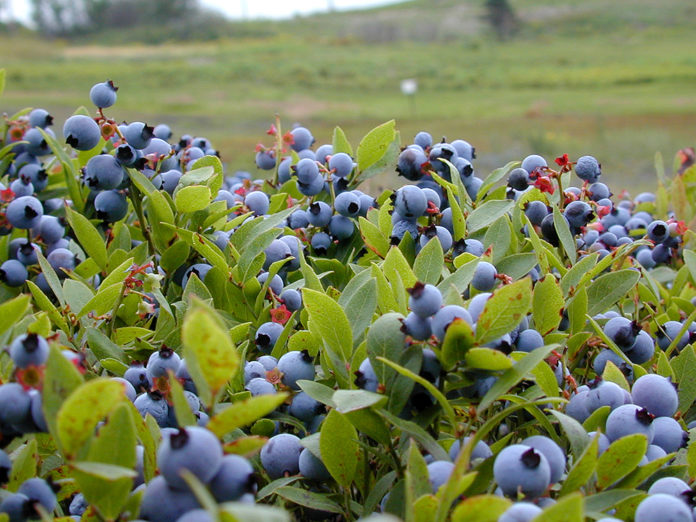
These bushes require up to 6 feet of space to grow naturally. If you grow more bushes, they should be 2.5 to 3 feet apart each. Therefore, make sure you leave enough space for your blueberry plants.
55. Follow the planting process
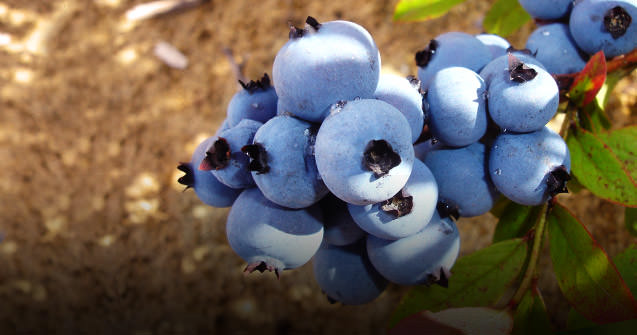
In most countries, it is preferable to plant blueberries in the fall or spring. Plant the roots with your hands, put them in the soil, add more soil around them and tap on the top layer of the soil. Then, water the soil well, to hydrate your plan.
56. Add some mulch
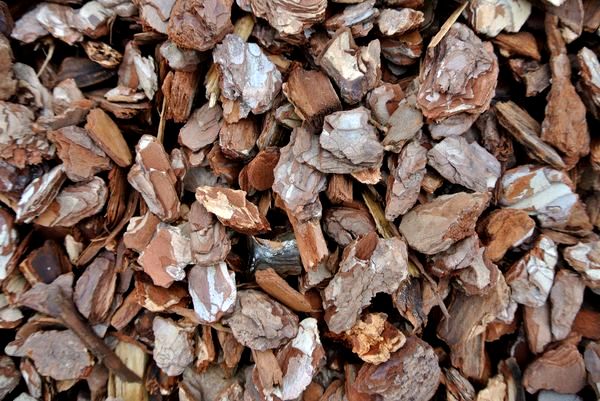
For best results, use mulch, but you can also use pine bark or rind mulch.
57. Trim your bushes
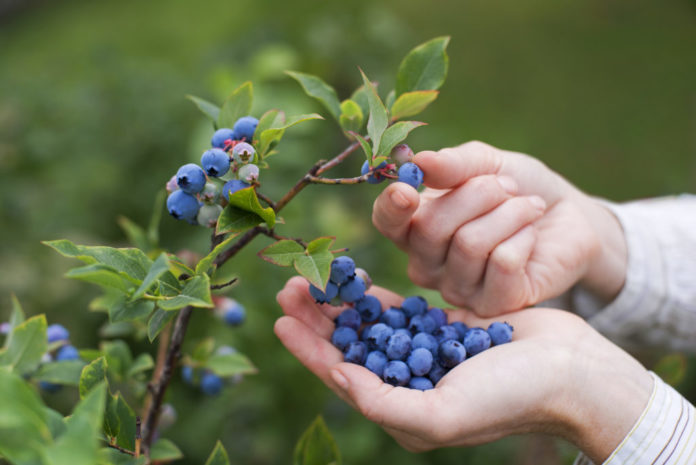
When the bush starts to grow, start pruning it on a regular basis, as it will allow the strongest branches to grow more and will support healthy plant growth.
When pruning blueberries, remember to remove weak shoots, clean out any dead wood, cut short or discoloured branches and remove half or a third of the wood.
58. Fertilize the soil
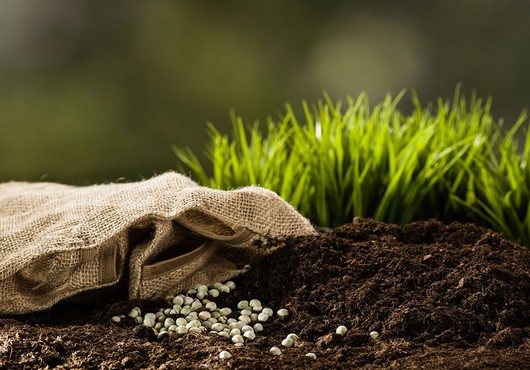
You should always use organic fertilizers to avoid damaging the bushes. They fertilize the plant for longer and are good for the environment.
If grown this way, bushes live and produce fruit for at least 4 or 5 decades. You can try planting at least two different varieties of fruit for cross-pollination to increase their performance.
These tips will be a great help if you want to grow your own blueberries at home and enjoy the taste and all the health benefits of these amazing fruits.
59. A few extra tips

Here are a few extra tips to have tons of blueberries in your yard:
- Birds love blueberries as much as you do or even more than you do. It is best to install a protective net to cover each plant.
- To make your blueberries more delicious, wait a few days after you see they’ve turned blue. Gently shake the branch: the blueberries that are ready to eat will fall on their own.
- Cultivate numerous kinds of blueberries. This way, you will have more of them and they will be bigger.
Sources:
- DIY Everywhere
- Healthy Living Style
- Good Housekeeping
- Astuces de grand-mère
- Ecosnippets
- Diet of Life
- pagesjaunes.ca


![[Photos] Why WD-40 Is Magic In Your Garden?](https://lifetonik.com/wp-content/uploads/sites/7/2019/08/WD40-Prices-Highres_Page_8_Image_0008-218x150.jpg)


![[Photos] Take A Look Of The Obama’s New Home Before It’s Banned](https://lifetonik.com/wp-content/uploads/sites/7/2019/07/Obama1-218x150.jpg)

![[Slideshow] Celebrity Homes: 21 Of The Most Luxurious](https://lifetonik.com/wp-content/uploads/sites/7/2019/07/Taylor-Swift-218x150.jpg)
![[Slideshow] More Parents Are Now Gluing Pennies to the Bottom of their Kid’s Shoes](https://lifetonik.com/wp-content/uploads/sites/7/2019/07/Keep-Them-Entertained-218x150.jpeg)
![[Photos] 20 Fashion Mistakes That Too Many Women Make!](https://lifetonik.com/wp-content/uploads/sites/7/2019/07/5-style-mistakes-that-make-you-look-frumpy-featured-218x150.jpg)


![[Gallery] 25 Discounts For Seniors To Which You Are Entitled Without Knowing It](https://lifetonik.com/wp-content/uploads/sites/7/2019/08/EAZxECUXUAAvNZR-218x150.jpg)
![[Slideshow] Here’s the salary of every governor in the United States](https://lifetonik.com/wp-content/uploads/sites/7/2019/08/Charlie-Baker-218x150.jpg)
![[Photos] No One Will Want To Buy This House After Seeing These Pictures](https://lifetonik.com/wp-content/uploads/sites/7/2019/08/terrible-real-estate-photos-2-5c35e727c9f95__700-218x150.jpg)

